
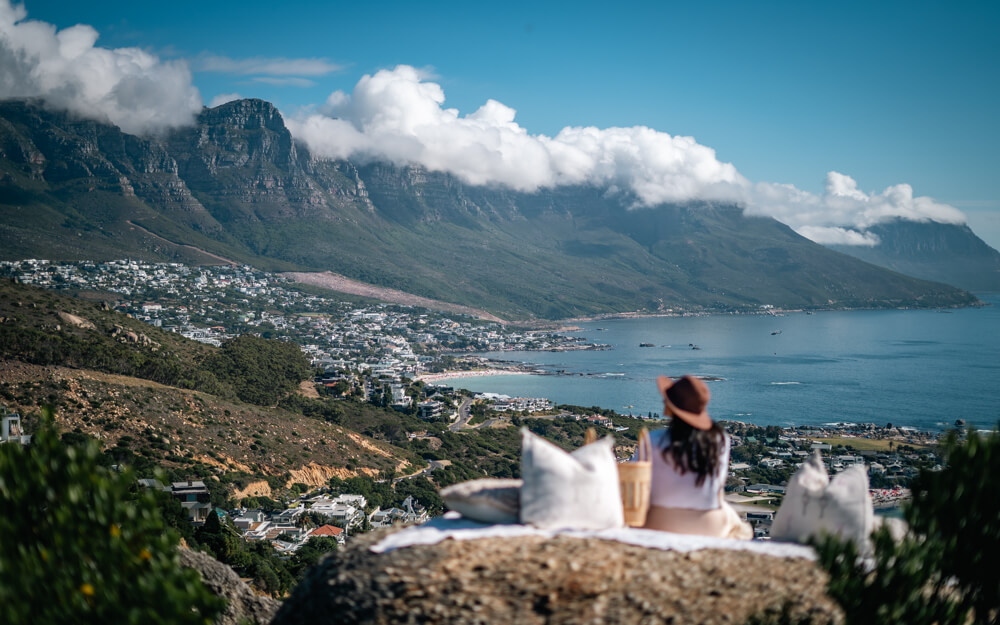
This 3-day Cape Town itinerary has everything you need to plan the perfect first time in this city. It gives you a day-wise plan of what to see and do, where to stay and how to get around, along with all our top tips.
There’s something magnetic about Cape Town. Maybe it’s the way Table Mountain casually watches over the city or how you can go from sipping wine in the vineyards to chilling on a beach – all in the same day. It’s wild and stylish, relaxed yet full of life.
From stunning neighbourhoods and bustling markets to dramatic coastlines and world-class hikes, Cape Town blends nature and city life in a way only a few places can. It’s no surprise this city was voted the ‘Best City in the World for 2025’ by Time Out magazine. You really can’t help falling in love with it!
While 3 days can never be enough for Cape Town, it’s the perfect amount of time to get a taste of the city, especially if you’re including it as part of a longer South Africa itinerary.
Where to Stay in Cape Town
The best area to stay in Cape Town is the stretch along the coast between Camp’s Bay and Green Point, which basically also includes Mouille Point, Sea Point, Clifton, and Bantry Bay. This entire stretch is safe, super beautiful, and very lively, with many restaurants and bars. We stayed in Green Point and found it to be quite convenient.
Avoid the city centre (Central Business District/CBD) even if you find cheaper stays, as it is not known to be safe. We’d initially booked an apartment in the city centre because it was so cheap but ended up cancelling it at the last moment and paid a lot more for our Green Point stay! No regrets! It’s always better to be safe than save a few bucks.
Luxury: Ellerman House
Premium: Sea Star Rocks Boutique Hotel (epic views)
Mid-range: Villa Costa Rose
Budget: Designer Studio Camps Bay or Casa 1
How to Get Around Cape Town
The best way to get around IMO is to rent a car in Cape Town. Cape Town is a large city lacking good public transport. If you don’t have a car, you might need to rely on Ubers and guided tours to see all the spots. And the costs can really add up. Driving in Cape Town will give you the flexibility to explore at your pace and go wherever you like!
We’d actually been suggested not to rent a car in Cape Town because of traffic and parking issues, especially since we were there in December. So we did our Garden Route road trip and planned to return our car before exploring Cape Town. But when we realised how crazy the distances between the major spots in Cape Town were and calculated how much Uber would cost us, it didn’t make any sense.
So we ended up renting a car in Cape Town too, and we were thrilled that we did. Traffic wasn’t an issue at all; parking was slightly annoying because we were there at a busy time, but the convenience of having a car outweighed that significantly.

You can easily rent a car from Discover Cars. That’s where we rented our car from three times during our South African road trip because of its user-friendly platform, competitive pricing, and wide selection of cars. You can rent your car easily from the airport in Cape Town. Just ensure you rent a car that is rated at least 8.5 or above (preferably 9 or above) and opt for Full Coverage to be protected in case of any damage or theft.
While Ubers are quite safe and not super expensive, doing a road trip in Cape Town is a lot easier and more fun! However, if you can’t drive or don’t like driving when abroad, go ahead with booking Ubers to get around the city.
3-Day Cape Town Itinerary
Day 0
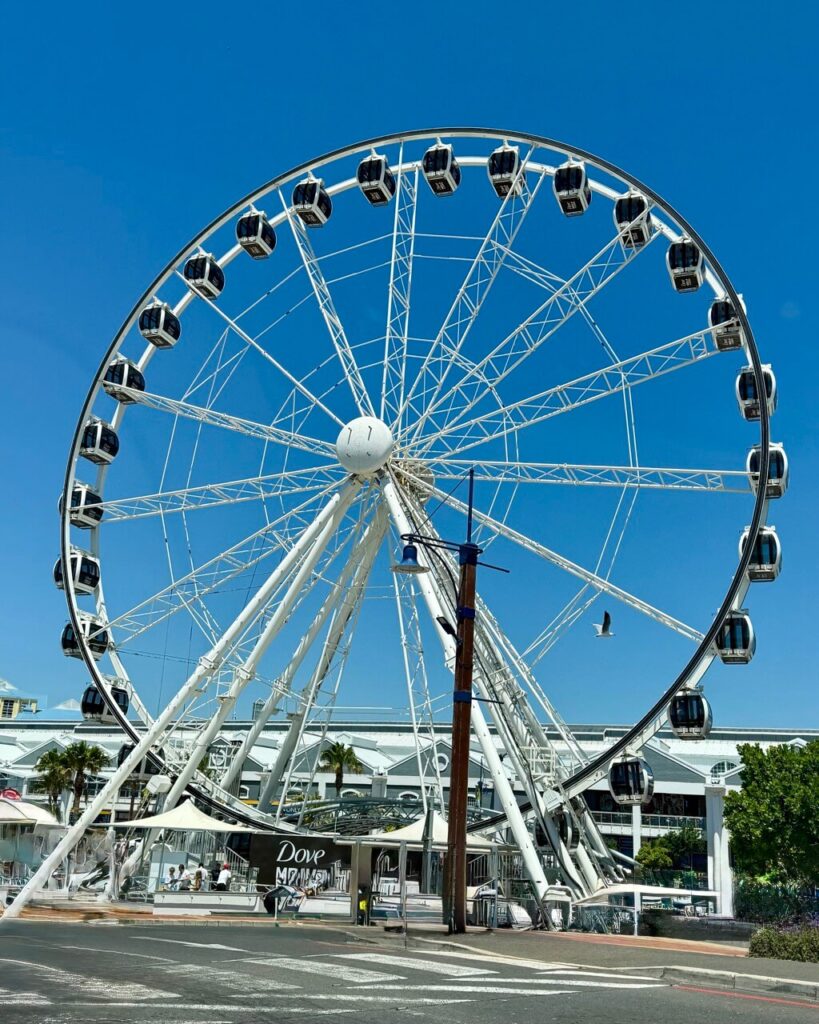
Since this is a full 3-day Cape Town itinerary, I’m assuming you’ll be arriving the previous evening to settle in before you start exploring. And that’s what Day 0 is all about. So once you arrive, check into your hotel and head straight to the V&A Waterfront.
Sunset Cruise with Champagne: There is no better way to start your evening in Cape Town than to admire the Mother City from the water while watching a gorgeous sunset and sipping some bubbly. You might even spot some marine life like seals and whales.
Dinner: If you want to have something to eat close by, finish your first day with a meal at TimeOut Market to pick from many options. But you’ll probably have a better time at the Mojo Market at Sea Point (4 km away), which, in addition to food, also has sports screenings, live music, karaoke on Mondays, salsa on Sundays, and more.
If you’re in the mood for a fancy sit-down dinner, head to The Waterside or Pier.
Day 1
Drive Distance: 160 km
Spend Day 1 exploring some of Cape Town’s most iconic coastal spots along the Cape Peninsula. This drive might just be the highlight of your Cape Town trip because the views are stunning! We’re talking winding roads with ocean views that make you want to pull over every five minutes, dramatic cliffs, adorable little beach towns, and water so blue it looks photoshopped. It’s the kind of drive where you’ll want to blast your favourite playlist and just soak up the magic.
You need to start this day as early as possible. We started at 8:20 AM and did have to rush through some bits. I suggest leaving your hotel at 7-7:30 AM at the latest so you get more time at each of the stops.
If you’re planning to not rent a car, you’ll have to do a full-day guided tour that covers most of these spots.
Here’s a map of this day’s driving route, assuming you’re starting in Green Point.
Stop 1: Muizenberg Beach
Parking: Free parking lot
Entry Ticket: None
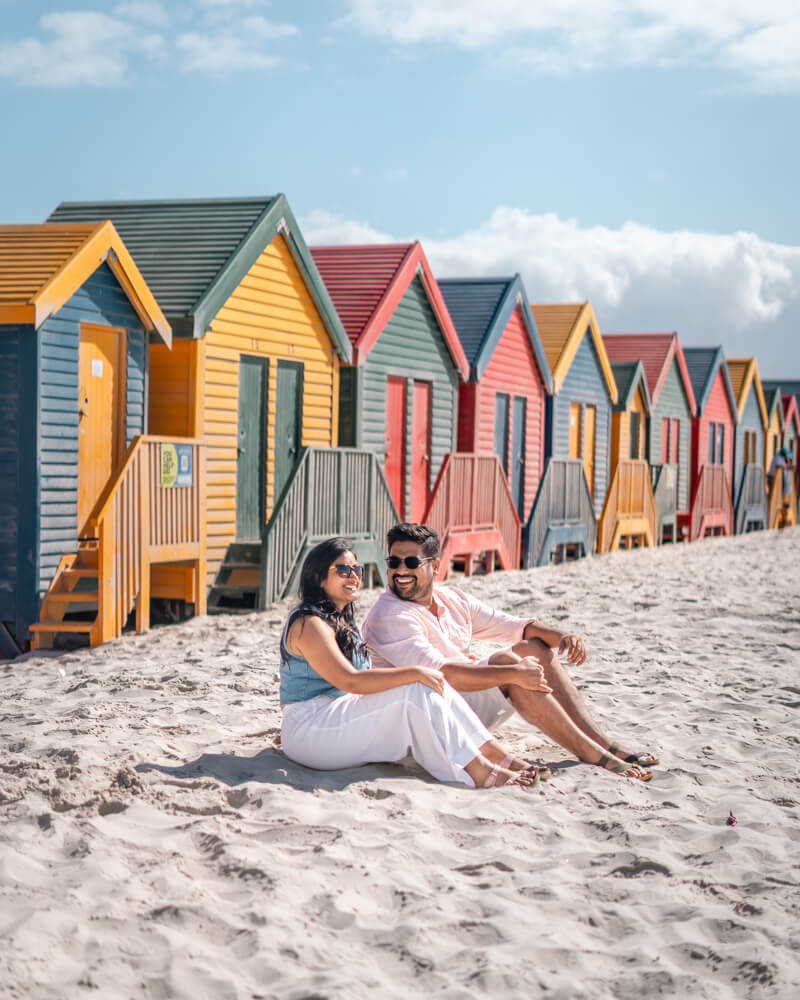
Start at this beach, which is famous for its colourful beach cottages – perfect for some cute photos. After parking your car at the parking lot, keep walking left along the beach until you reach a row of colourful huts.
While the main beach might be crowded even in the mornings because it’s full of surfers, this area with its colourful cottages is relatively quiet. After spending some time on this beach, you can even grab breakfast here at the cafes near the parking lot, which open by 7 AM! We ate at KAUAI and quite enjoyed our food!
Stop 2: Boulders Beach
Parking: Free parking lot. If the parking is full, you’ll be made to park at a golf course nearby with paid parking.
Entry Ticket: Yes, you need one. I suggest buying your tickets online in advance, as the queue for purchasing tickets can get extremely long
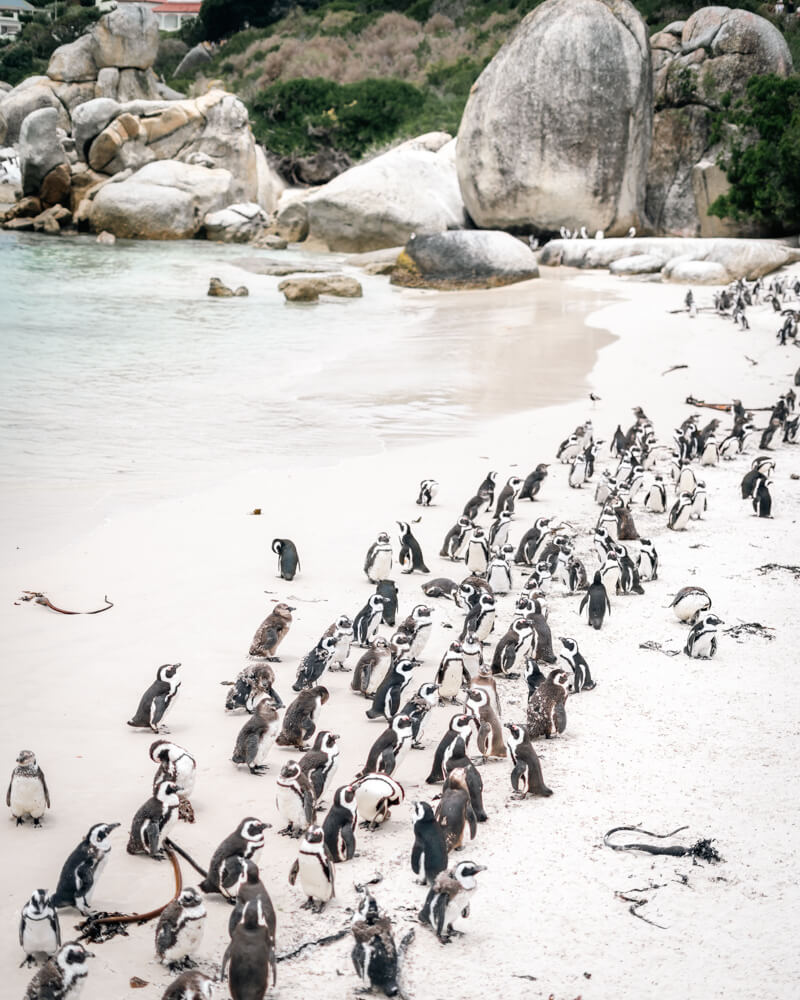
This area is where you can see adorable little African penguins! There are two spots where you can see them:
- Foxy Beach: Turn left from the first ticket booth to find an endless wooden walkway. It’s a super-long walk that leads you to a viewing platform from where you can see a big colony of penguins on a beach. This area can get pretty crowded if you don’t arrive early enough.
- Middle Beach: This is the beach where you can get super close to the penguins. To reach Middle Beach, turn right from the ticket booth, walk to the end of the first beach, walk underneath the rocks, then climb the rocks before crossing a patch of water. If it’s low tide, the water should be below your knees, and you can easily walk across. However, if it’s a high tide, the water can rise quite a lot, and you will have to swim.
So either plan your day such that you get here during low tide, or wear your swimsuit and carry a dry bag for your things.
Stop 3: Cape Point
Parking: Free parking lot
Entry Ticket: Yes. You’ll enter through the Table Mountain National Park (Cape of Good Hope), where you’ll have to pay the fee. Then you’ll drive up to Cape Point!
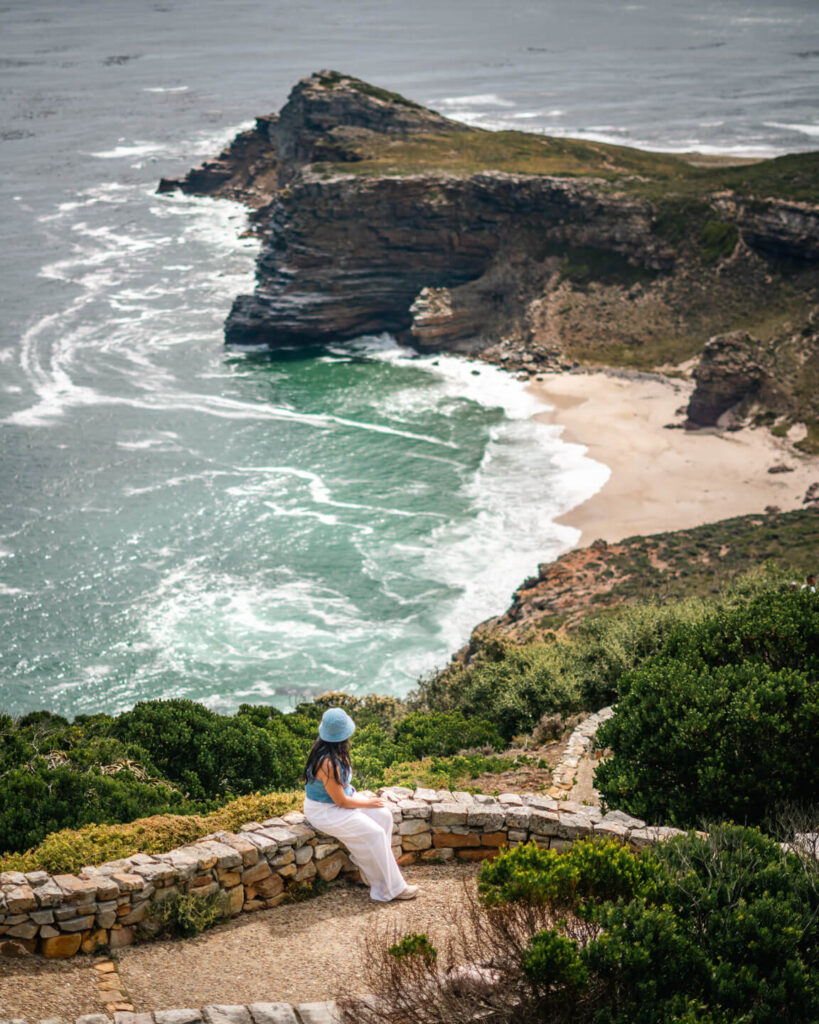
Cape Point is full of history. Back in 1488, Portuguese explorer Bartolomeu Dias sailed around this tip of Africa and called it the “Cape of Storms” because of the wild weather that shipwrecked many ships. A decade later, Vasco da Gama took the same route and opened up sea trade between Europe, India, and the East. That’s when it got renamed the “Cape of Good Hope”- a nod to the new possibilities it brought. Eventually a lighthouse was built at what is now called Cape Point.
Today, you can still take the funicular or hike for 15 minutes to the old lighthouse that once helped sailors navigate this tricky stretch of coast!
Despite the historical significance of Cape Point, I never fully understood the need to visit it. That changed when we visited! The view from the lighthouse, along with other viewpoints and the hike back down, was splendid.
Stop 4: Cape of Good Hope
Parking: Free parking lot
Entry Ticket: Not needed, as you’re still in the same National Park as Cape Point.
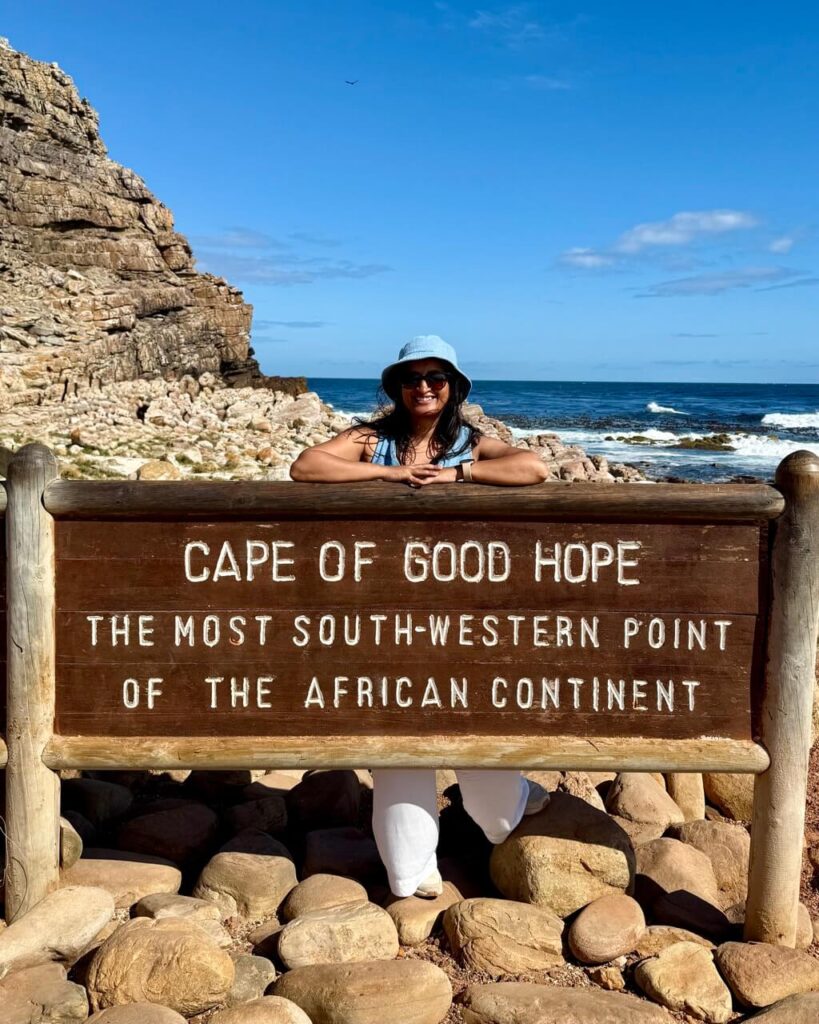
This is the south-westernmost tip of Africa, with rugged cliffs and crashing waves! While the views aren’t epic or anything, it’s still a wonderful place to tick off because of its historical significance. Don’t forget to take a picture with the Cape of Good Hope signboard and spend some time looking out at the water and noticing just how crazy it would be to sail here back in the day.
There are two ways to get to the Cape of Good Hope from Cape Point. The first is to drive it. The second option is to hike between the two spots. It’s a 6 km round trip (1.5 hours or so) hike that goes along the cliff. If you have time, do it; the views will be amazing.
Stop 5: Kommetjie Public Beach
Parking: Free street parking
Entry Ticket: None
Instead of following the road straight from Cape of Good Hope to Chapman’s Peak Drive, which will take you past the same route you took to get there, enter this spot on Google Maps. It’ll be a totally different route from before. This beach is not at all crowded, has beautiful blue water, a long stretch of clean sand, and amazing views. You can also check out the Wreck Of The Kakapo (a wrecked ship) nearby if you’d like.
Stop 6: Chapman’s Peak Drive
Parking at viewpoints: street side or free parking lots
Entry Ticket: It is a toll road, so you will have to pay up at the toll booth.
This is undoubtedly one of the world’s most picturesque coastal drives. This 9 km route with 114 curves goes along a cliff and has insane ocean views and dramatic rock formations. Ensure you stop at the viewpoints along Chapman’s peak to absorb the views and take photos. We stopped at the ‘Chapman’s Peak Drive Lookout Point’, but this one has very limited parking space. If you don’t get space here, don’t worry; there are a few more lookout points along the route.

Stop 7: Maiden’s Cove
Parking: Free parking lot
Entry Ticket: None
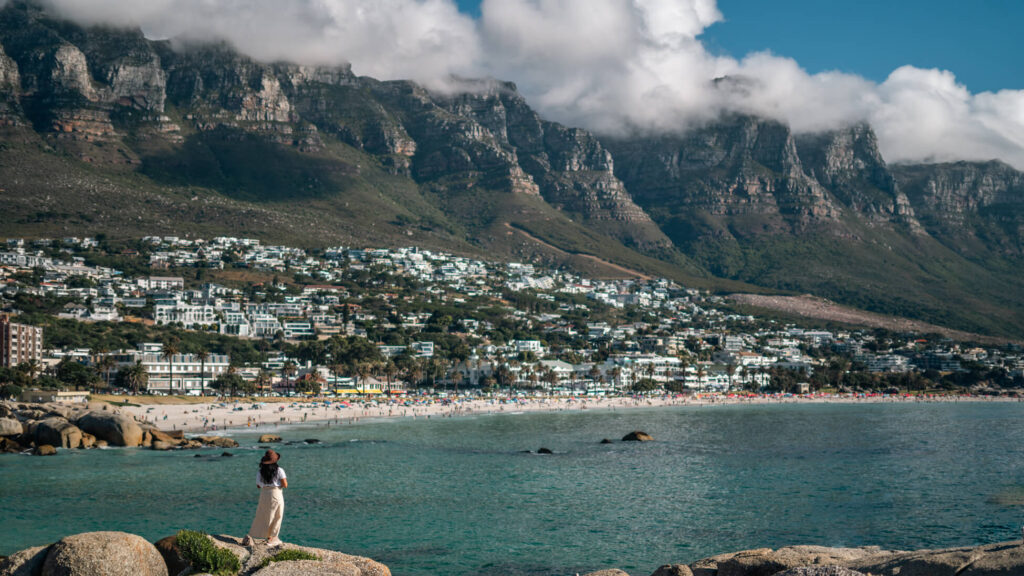
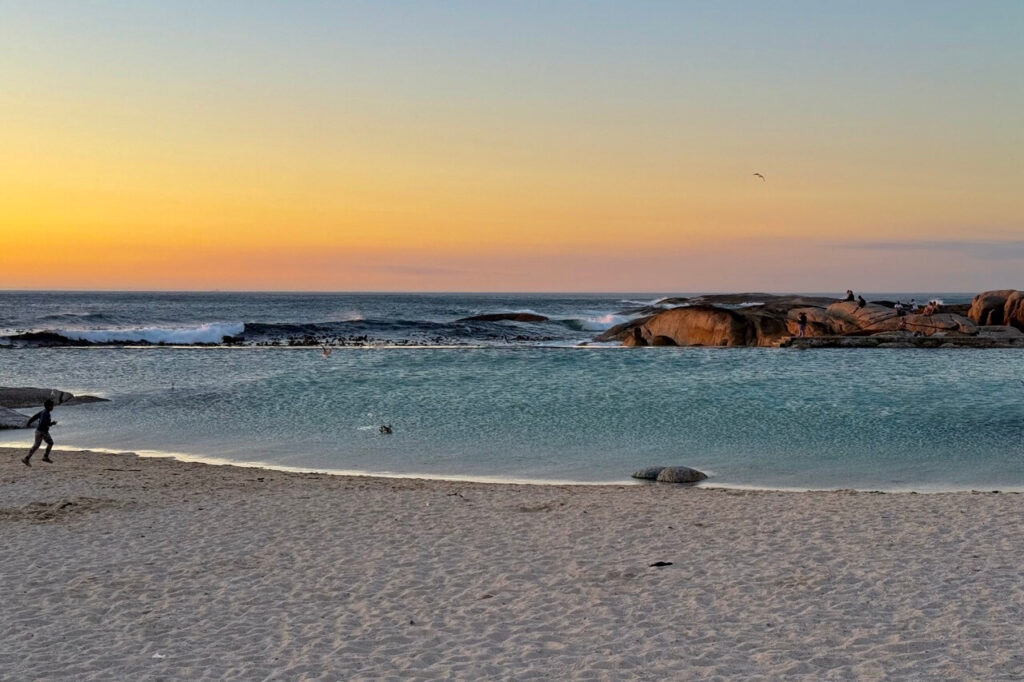
On your way back, make a stop at this stunning place which is perfect for a refreshing dip in the tidal pool or just sitting on a rock and watching the sun dip behind the ocean. The views of Camps Bay, the Twelve Apostles, and the ocean make it an unforgettable spot during your three days in Cape Town.
If you’re hungry, you can grab dinner at The Bungalow nearby and call it a day.
Stop 8: Camps Bay
Parking: Street side without or without an attendant
Entry Ticket: None, since it’s a neighbourhood
If you’re not having dinner at the Bungalow and the sun hasn’t yet set, spend the evening walking around Camp’s Bay. Walk around the beach and the tidal pool, and when you’re done, have dinner and drinks at one of the many restaurants around.
You can go to Mantra Cafe or Cafe Caprise. Bo-Vine Wine & Grill House is very well known for its steaks.
Day 2
Drive Distance: 25 km
Day 2 is all about exploring the most important sites in Cape Town!
Stop 1: Robben Island
Parking: Paid parking at the Clock Tower Parking lot
Entry Fee: Yes. Tickets sell out much in advance, so do prebook them a month or so prior.
Start with the famous former prison on Robben Island, where Nelson Mandela was held for 18 years. You’ll need to go To The Nelson Mandela Gateway to Robben Island at the V&A Waterfront and board a ferry there. At the island, a guided tour takes you through the island’s history, including a visit to Mandela’s actual cell, making it a powerful and an emotional experience.
If Robben Island doesn’t interest you, drive to Clifton First or Camps Bay to walk around, enjoy the beach, or go paragliding because the views over Cape Town are epic!
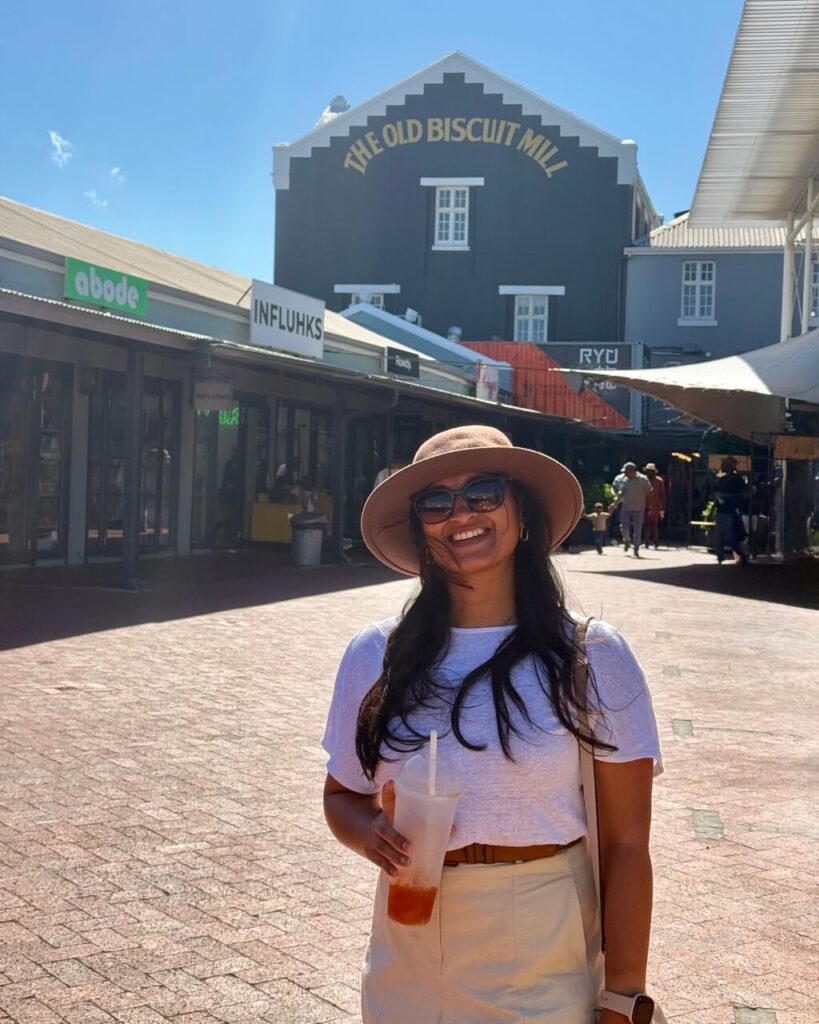
Stop 2: Neighbourhoods Market at the Old Biscuit Mill
Parking: Street parking with an attendant
Entry Ticket: Free
In the afternoon, head to this trendy spot, which is packed with food stalls with different cuisines, artisan shops, and live music, making it the perfect place to grab lunch and soak in Cape Town’s creative energy.
However, this market, called the Neighbourhoods Market, is only open on the weekends (Saturdays 9am to 3pm and Sundays from 10am to 4pm), so if you’re in Cape Town on a weekday, you’ll need to choose another spot for lunch.

Stop 3: Table Mountain
Parking: There is a free parking lot at the bottom of Tafelberg Road. You’ll need to park there and then take a free shuttle bus from the parking lot to the Lower Cable Station and back.
Entry Tickets: Buy the cable car ticket at least a few days in advance to ensure you get the entry slot of your choice.
Tip: Check the weather forecast for the day you’re planning to go before you book your ticket. Plan to visit on a sunny day, as Table Mountain can close when there is excessive fog or wind.
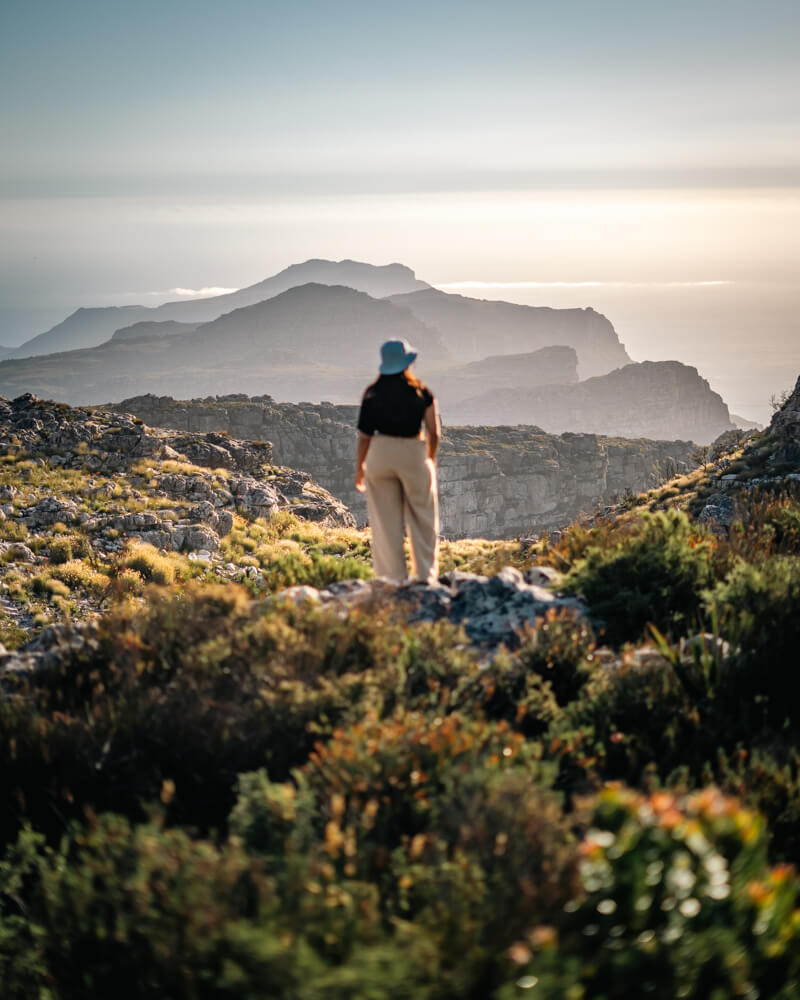
Spend the rest of the day at Table Mountain – one of the new seven wonders of nature!
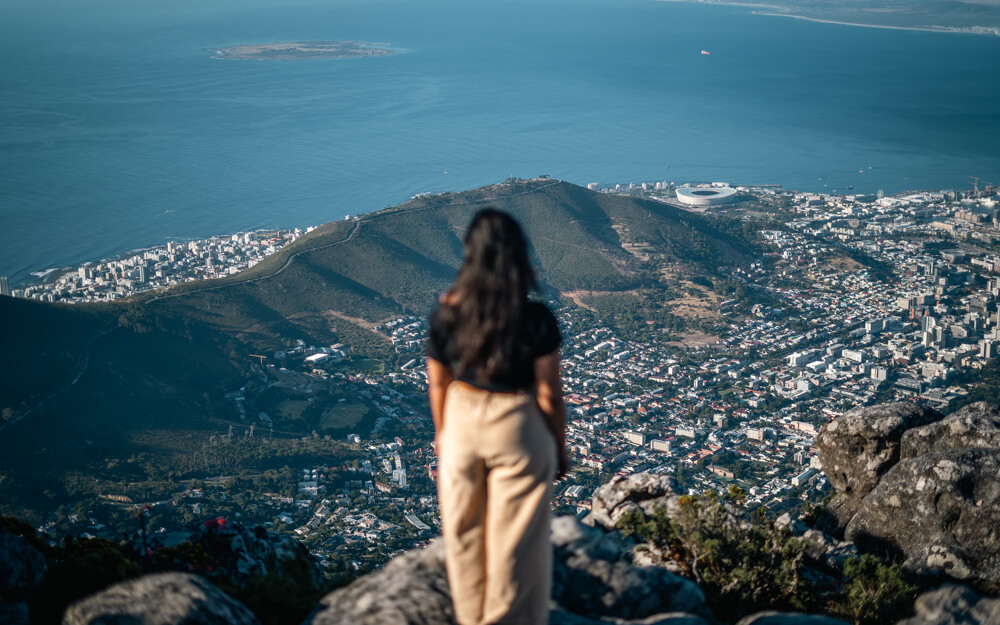
Take a cable car up and hike to Maclears Beacon, which marks the highest point on Table Mountain. It’s an easy 1-2 hour, 5-km round-trip hike, but you can turn back at any time you like. Alternatively, take a loop around the summit so you can appreciate the 360° views of the city, ocean, and beyond!
Visiting Table Mountain can be time-consuming, as it’s the most famous spot in the city, so expect to spend half a day here. Even with tickets, the queue to get to the top and back can be long unless you’ve purchased fast-track entry tickets, which are quite expensive. We parked our car at the bottom at 4:30 PM and were back at it at 9:30 PM.
Day 3
Drive Distance: 53 km
Drive Time: 1 hour 30 minutes
Stop 1: Sunrise Hike up Lion’s Head
Parking: Free Parking Lot
Entry Ticket: Free
Tip: Check the weather forecast before hiking up. It’ll make no sense to go up all the way on a cloudy day.
It’s a short but steep hike that most tourists do because you not only get 360° views over Cape Town but also because the sunrise over the city is gorgeous. To do this hike with the sunrise views, you’ll have to start the hike about 1 to 1.5 hours before sunrise depending on your fitness level.
If hiking isn’t your thing, you can skip it and wake up a bit late to head to your next spot. We got lazy 20 days into our Victoria Falls and South Africa trip and didn’t end up doing the hike!

Stop 2: Oranjezicht City Farm Market
Parking: Street parking with an attendant
Entry Ticket: Free
After your hike (or not), head straight for breakfast at this lively spot with fresh local produce, artisanal food, handmade crafts, and amazing coffee. It’s open only on the weekends from around 9 AM to 2 PM. So plan accordingly. We went here two days consecutively because we enjoyed it too much!
Do try the Crema (coffee cream) and the samosas (they were more like empanadas than samosas, though). Just so delicious!


Stop 3: Bo-Kaap
Parking: Street side without an attendant
Entry Ticket: None, since it’s a neighbourhood.
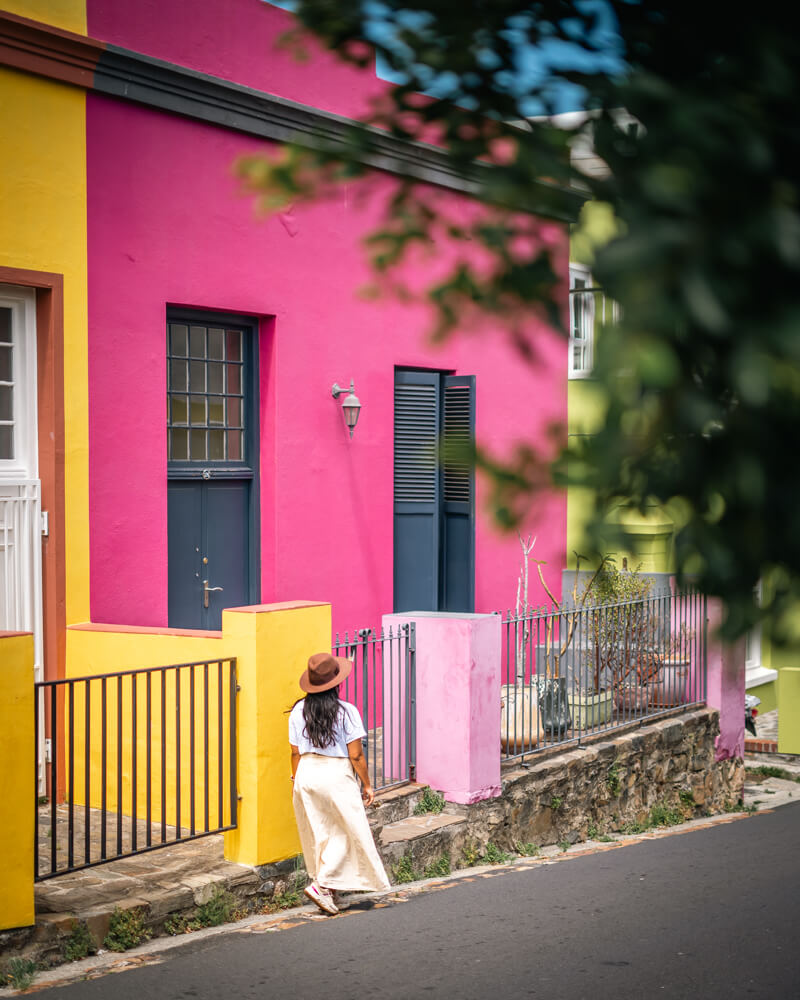
This is Cape Town’s most colourful neighbourhood, known for its bright houses and rich Cape Malay heritage—perfect for cute photos! We went here by ourselves and didn’t enjoy it much because we didn’t know what to do or where to go. We walked around and checked out some art galleries and were done!
So to make the best of your visit and get more context, I highly recommend joining a guided tour like this one. The tour shows you not only Bo-Kaap but also the famous District Six Museum. The 12-2 PM slot fits perfectly with this 3-day Cape Town itinerary.

Stop 4: Kirstenbosch Botanical Gardens
Parking: Free parking lot at Kirstenbosch. This parking lot is closest to the Boomslang Walkway.
Entry Ticket: It is a paid site, but it is not necessary to buy the ticket in advance.
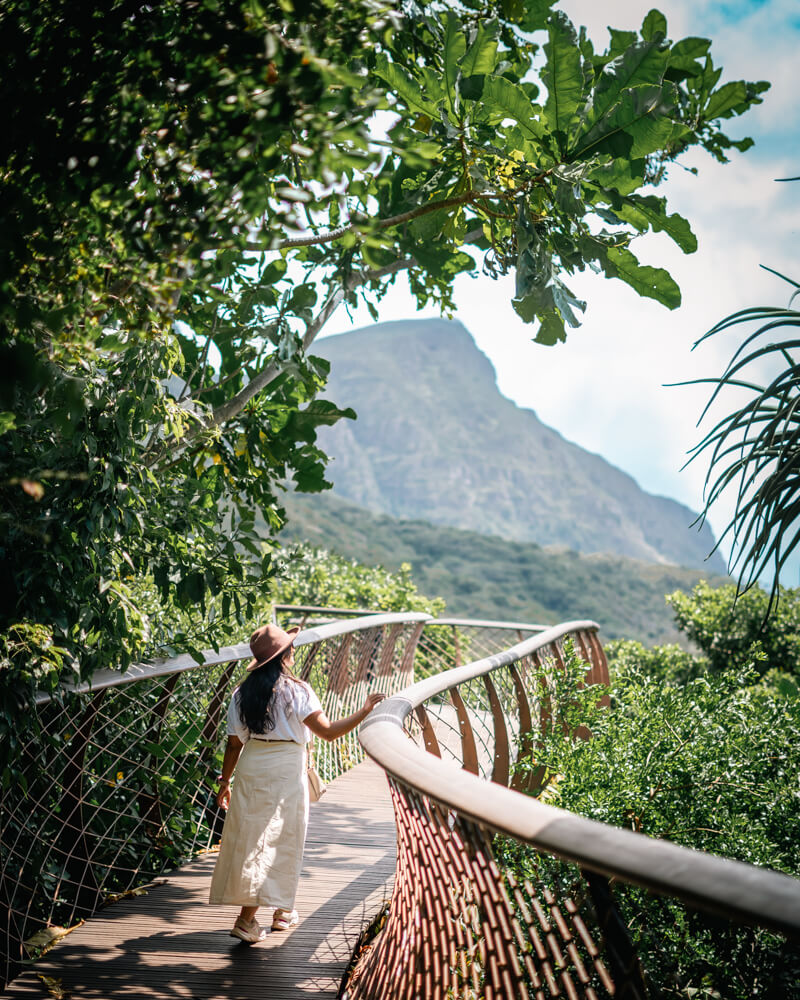
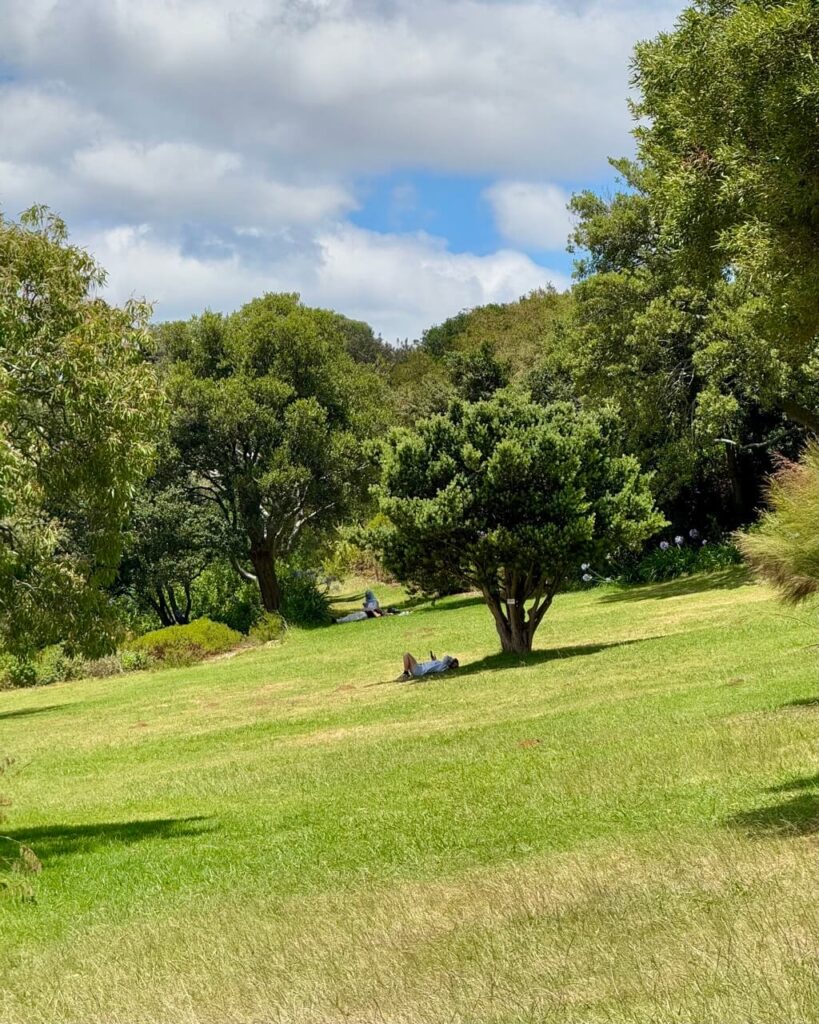
Kirstenbosch Botanical Gardens is hands down one of the most beautiful spots in Cape Town, and it’s not just for plant lovers! It is located against the eastern slopes of Table Mountain and is home to South Africa’s unique fynbos vegetation and thousands of indigenous plant species you won’t find anywhere else. It’s super easy to spend a few hours here.
Don’t miss the Boomslang Aerial Walkway – a raised canopy bridge that snakes through the treetops with stunning views of the gardens and mountains. And the walk through Camphor Ave and the Fynbos Walk is just too picturesque.
Stop 5: Sunset at Signal Hill
Parking: Free Parking Lot
Entry Ticket: Free
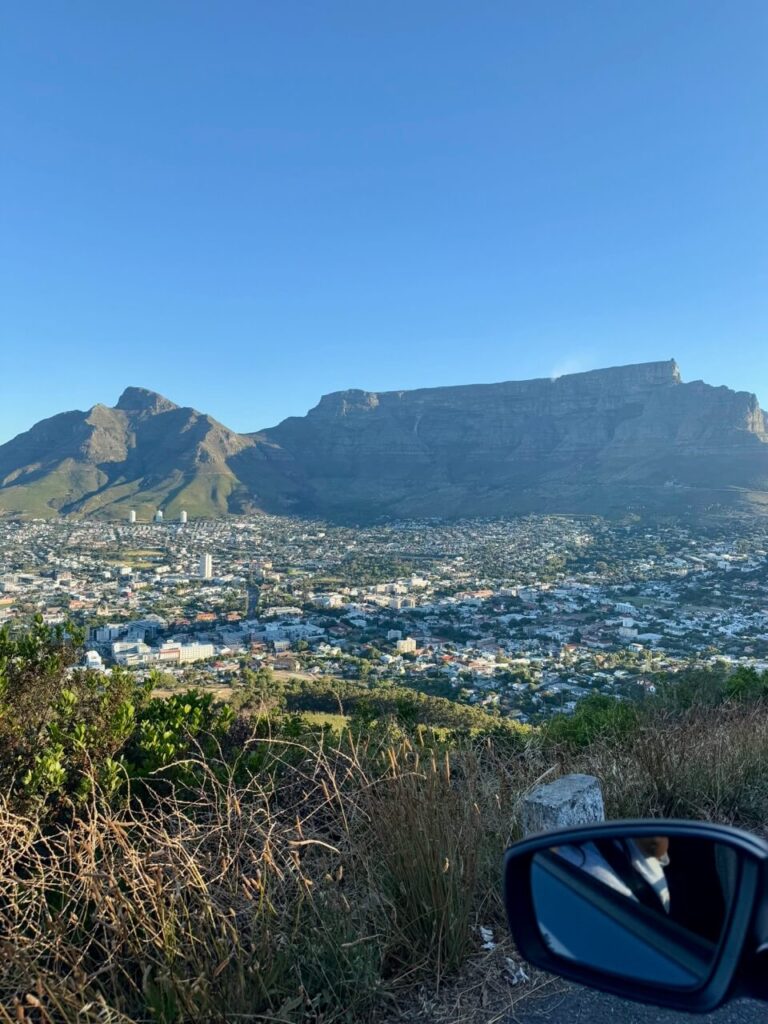
End your 3 days in Cape Town with a sunset at Signal Hill. It is a chilled-out spot where you can just relax, take in the views, and watch Cape Town light up below.

However, we didn’t really end up going to the exact Signal Hill sunset spot because of a traffic jam and instead ended up at a random parking lot a few kilometres before it (it was either the Appleton Scout Campsite or Memorial Bench for Aldo and Linda Girolo or somewhere between them). There is a dirt road at the side of the mountain that you’ll be able to see very clearly here.
From this parking lot, you can hike to Lion’s Head on one side and Signal Hill on the other. We just walked towards the Signal Hill side and found ourselves a spot to sit to watch the sunset away from the Signal Hill crowds. If you see in the photo above, there is a platform (with quite a few people) which you can head to to watch the sunset.
This is the perfect way to avoid the big crowd and traffic at the actual Signal Hill Sunset Spot.
Driving in Cape Town
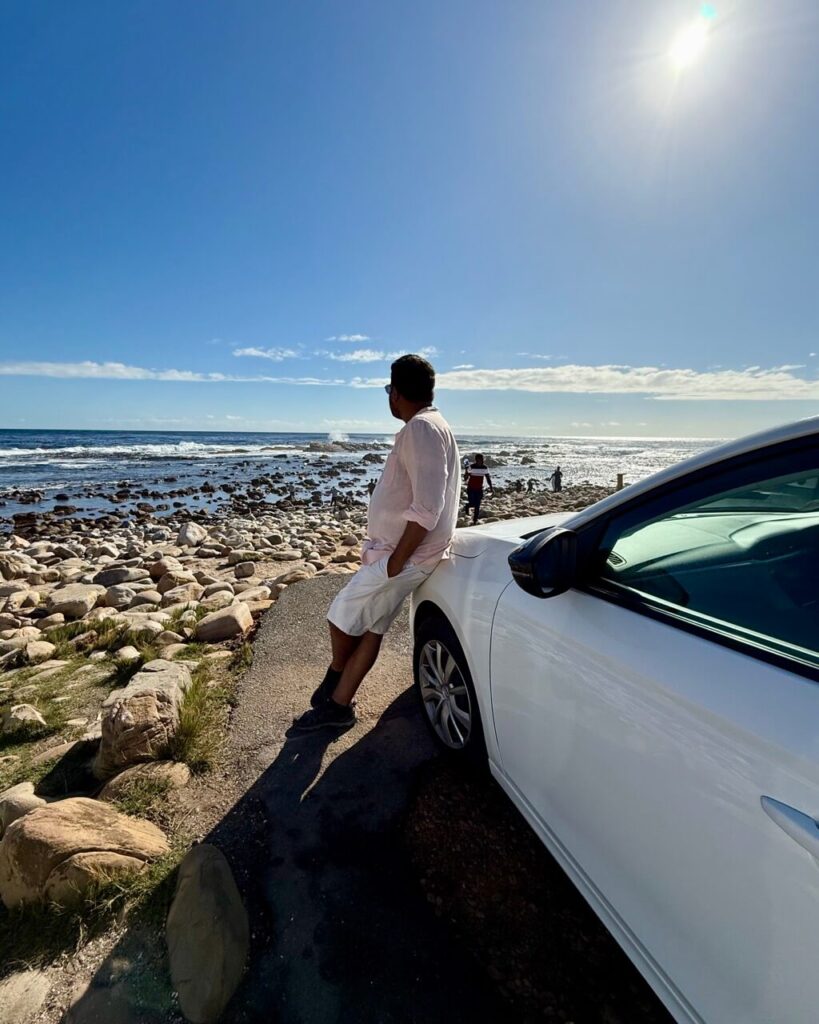
Taking a road trip in Cape Town is an incredible way to explore the city and its stunning surroundings but it’s important to be aware of the local driving rules and precautions to stay safe and stress-free in South Africa. Here are the key driving tips and regulations you need to know before getting behind the wheel.
Basic Road Rules
- Drive on the left-hand side of the road (same as the UK, Australia, New Zealand, India and other commonwealth countries).
- Speed limits are usually 60 km/h in urban areas, 100 km/h on open roads, and 120 km/h on highways. Always check for signs, especially in national parks and mountainous areas.
- Seat belts are mandatory for all passengers.
- Mobile phones are only allowed with hands-free devices.
- Stop signs and 4-way stops: The first vehicle to arrive has the right of way. Be polite and wait your turn.
- Be mindful of baboons and other wildlife, like penguins, on the road, especially when driving through the Cape Peninsula.
Documents You’ll Need
- A valid driver’s license in English with a photo and a sign. If any of these are missing, and if your license is not in English, you’ll need an International Driving Permit (IDP).
Get one here in 8 minutes. - You must be at least 18 years old to rent a car and drive it, but some rental companies may require you to be 21 (some rental companies charge a young driver fee if you’re under 23-25).
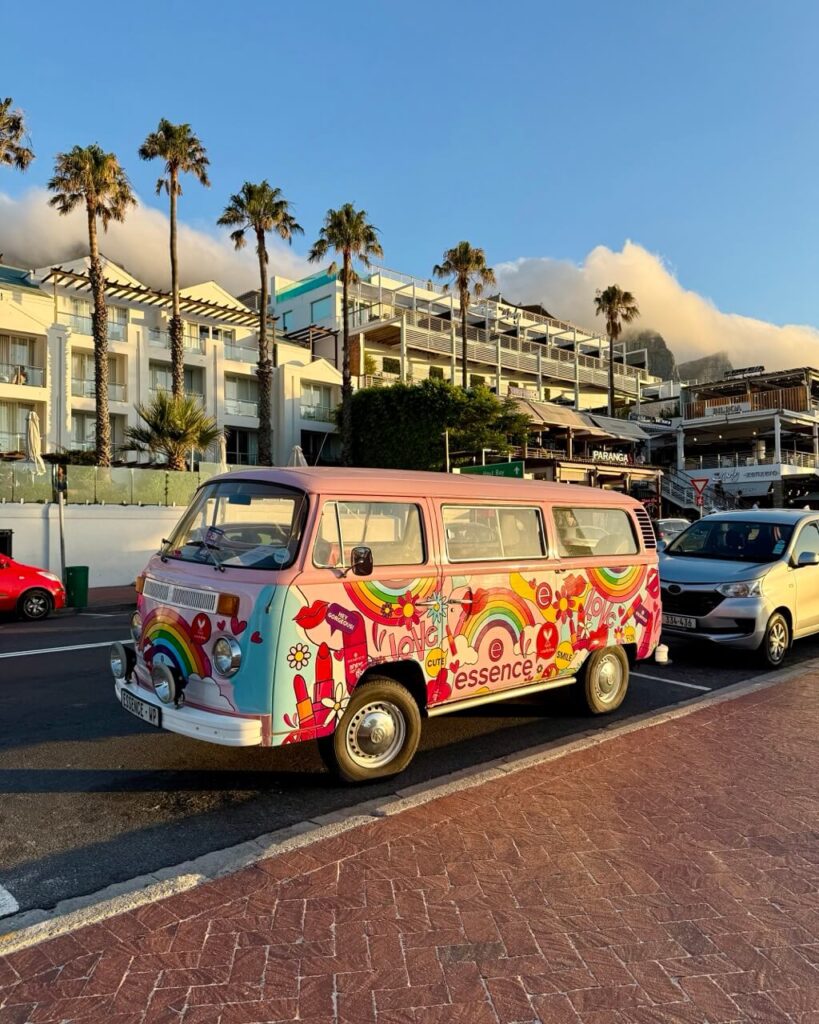
Safety & Parking Tips
- When you’re inside the vehicle, always keep the doors of your car locked and windows rolled up.
- At night, please park your car in the parking lot of your hotel or apartment. It should not be parked on the street.
- Avoid driving at night. You can head out for dinner and back as long as you’re sticking to the main tourist hubs!
- Never leave valuables (or actually any belongings at all) in plain sight in a parked car to avoid carjackings.
- For street-side parking, you might see unofficial parking attendants (often in reflective vests). It’s customary to tip them around R5–R20 for keeping an eye on your car.
- Petrol stations are full-service, and attendants will fill your car, check tyres, oil and water, and clean your windows (even if you don’t ask for it). Again, it is customary to give them a small tip of R5-10. Cash and cards are usually accepted.
Looking for the best place to book your rental car in Cape Town?
I genuinely recommend using DiscoverCars – it’s our go-to platform whenever we need to rent a car for a road trip. The website is a breeze to use, with clear filters to help you find the perfect vehicle for your travel style and budget. You can compare prices from all the top rental companies, so rest assured that you’re getting some of the best deals out there.
One of the biggest reasons I keep going back to them is their full coverage option (which you should always get). We actually had to use it once on a trip when a stone chipped our windscreen, and honestly, the claim process was so smooth. No endless back-and-forths or hidden clauses. We submitted the paperwork and got reimbursed quickly, without any stress.
Plus, their customer support has been outstanding every time we’ve needed help, including during this South Africa trip.
Book your rental car for Cape Town NOW
Pro Tips for Visiting Cape Town
1. Weather Can Be Wildly Unpredictable: Cape Town has all four seasons – sometimes all in one day! It’s crazy. Always carry a light jacket, even in the summers. The wind can be strong, so avoid flowy outfits on mountain hikes or coastal days.
2. Load Shedding is Real: South Africa experiences scheduled power cuts (called load shedding). Download the EskomSePush app to track outages and plan around them or book hotels that have generators. You’ll often find hotels that mention no loadshedding, so you’ll know which ones to book.
3. Tap Water is Safe to Drink: Cape Town’s tap water is generally safe to drink, but do ask your hotel or apartment host before drinking it. Carry a reusable water bottle to stay hydrated while exploring.
4. Protect Yourself from the Sun: The South African sun is intense. No kidding! Wear SPF with PA++++ every day on your face, body and even your lips. Do this every day, even when it’s cloudy. Sunglasses and a hat are lifesavers. I did all of this and yet after a few days in South Africa, the corners of my lips were weirdly grey and chapped and my husband’s ears were peeling. Yes, the sun is that intense.

5. Cash & Card Both Work: Most places accept credit/debit cards, but it’s good to keep a bit of cash for tips and parking attendants. ATMs are easy to find.
6. Tipping is Expected: Tipping is part of the culture. For restaurants, 10–15% is standard. You can also tip petrol attendants, car guards, and hotel staff (R10–R20 depending on the service).
7. Uber is Reliable and Affordable: While rental cars are still the best way to get around, you might need to take an Uber occasionally. Know that Uber works well in Cape Town and is usually safer and cheaper than local taxis. It’s a wonderful option for going out at night, if you’re planning to drink, or for airport transfers.
8. Stay Aware: It’s best to stick to exploring the tourist-friendly zone, which is the coastal route between Green Point and Camps Bay. The city centre can be unsafe. But regardless of where you are, don’t flash your phone and other valuables in public. Be vigilant, but not anxious, so you can actually enjoy your trip.
9. Don’t Skip the Surroundings: Cape Town is just the start. Plan at least a day trip to the Cape Winelands (Stellenbosch or Franschhoek) and even head down the Garden Route or the west coast.
Cape Town truly packs a punch. In just 3 days, you get mountains, beaches, wildlife, history, and some seriously epic views. Whether you’re heading up to Table Mountain, road-tripping to Cape Point, or wandering through the peaceful paths of Kirstenbosch, every moment feels like a highlight.
Three days might not feel like enough (trust me, you’ll want to stay longer!), but it’s the perfect taster to fall in love with the Mother City. And who knows maybe this trip will be the start of many more adventures in South Africa!
Where in South Africa are you off to next? Here are a few posts to help you plan your trip.
Kruger National Park Itinerary for Every Budget
What to Know Before You Self-Drive in Kruger National Park
Epic 3 Weeks South Africa And Victoria Falls Itinerary
This blog post on ‘3-day Cape Town itinerary’ has affiliate links that enable us to earn a small commission when you make a purchase, with no extra cost to you. We only recommend products that we like and those that might interest you. If you like any suggested product, do buy from the given links.